How to Install a Kitchen Backsplash Yourself
Step-by-Step Guide to Installing a Kitchen Backsplash for Your DIY Remodel
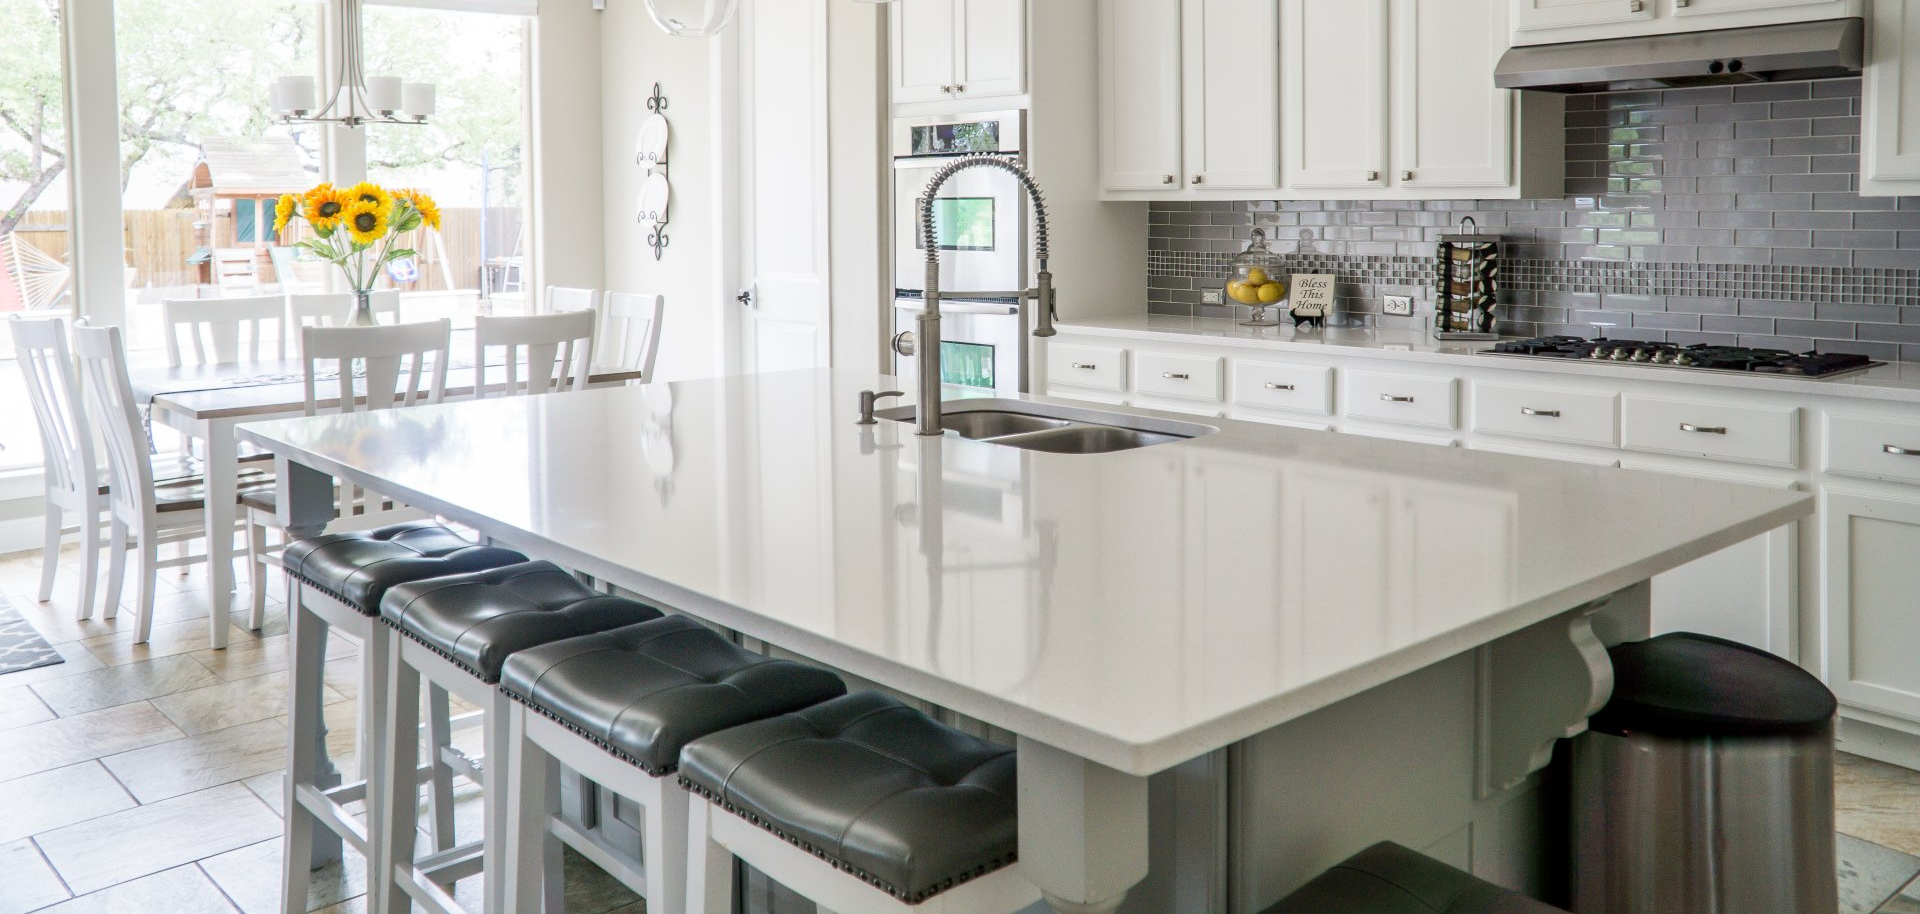
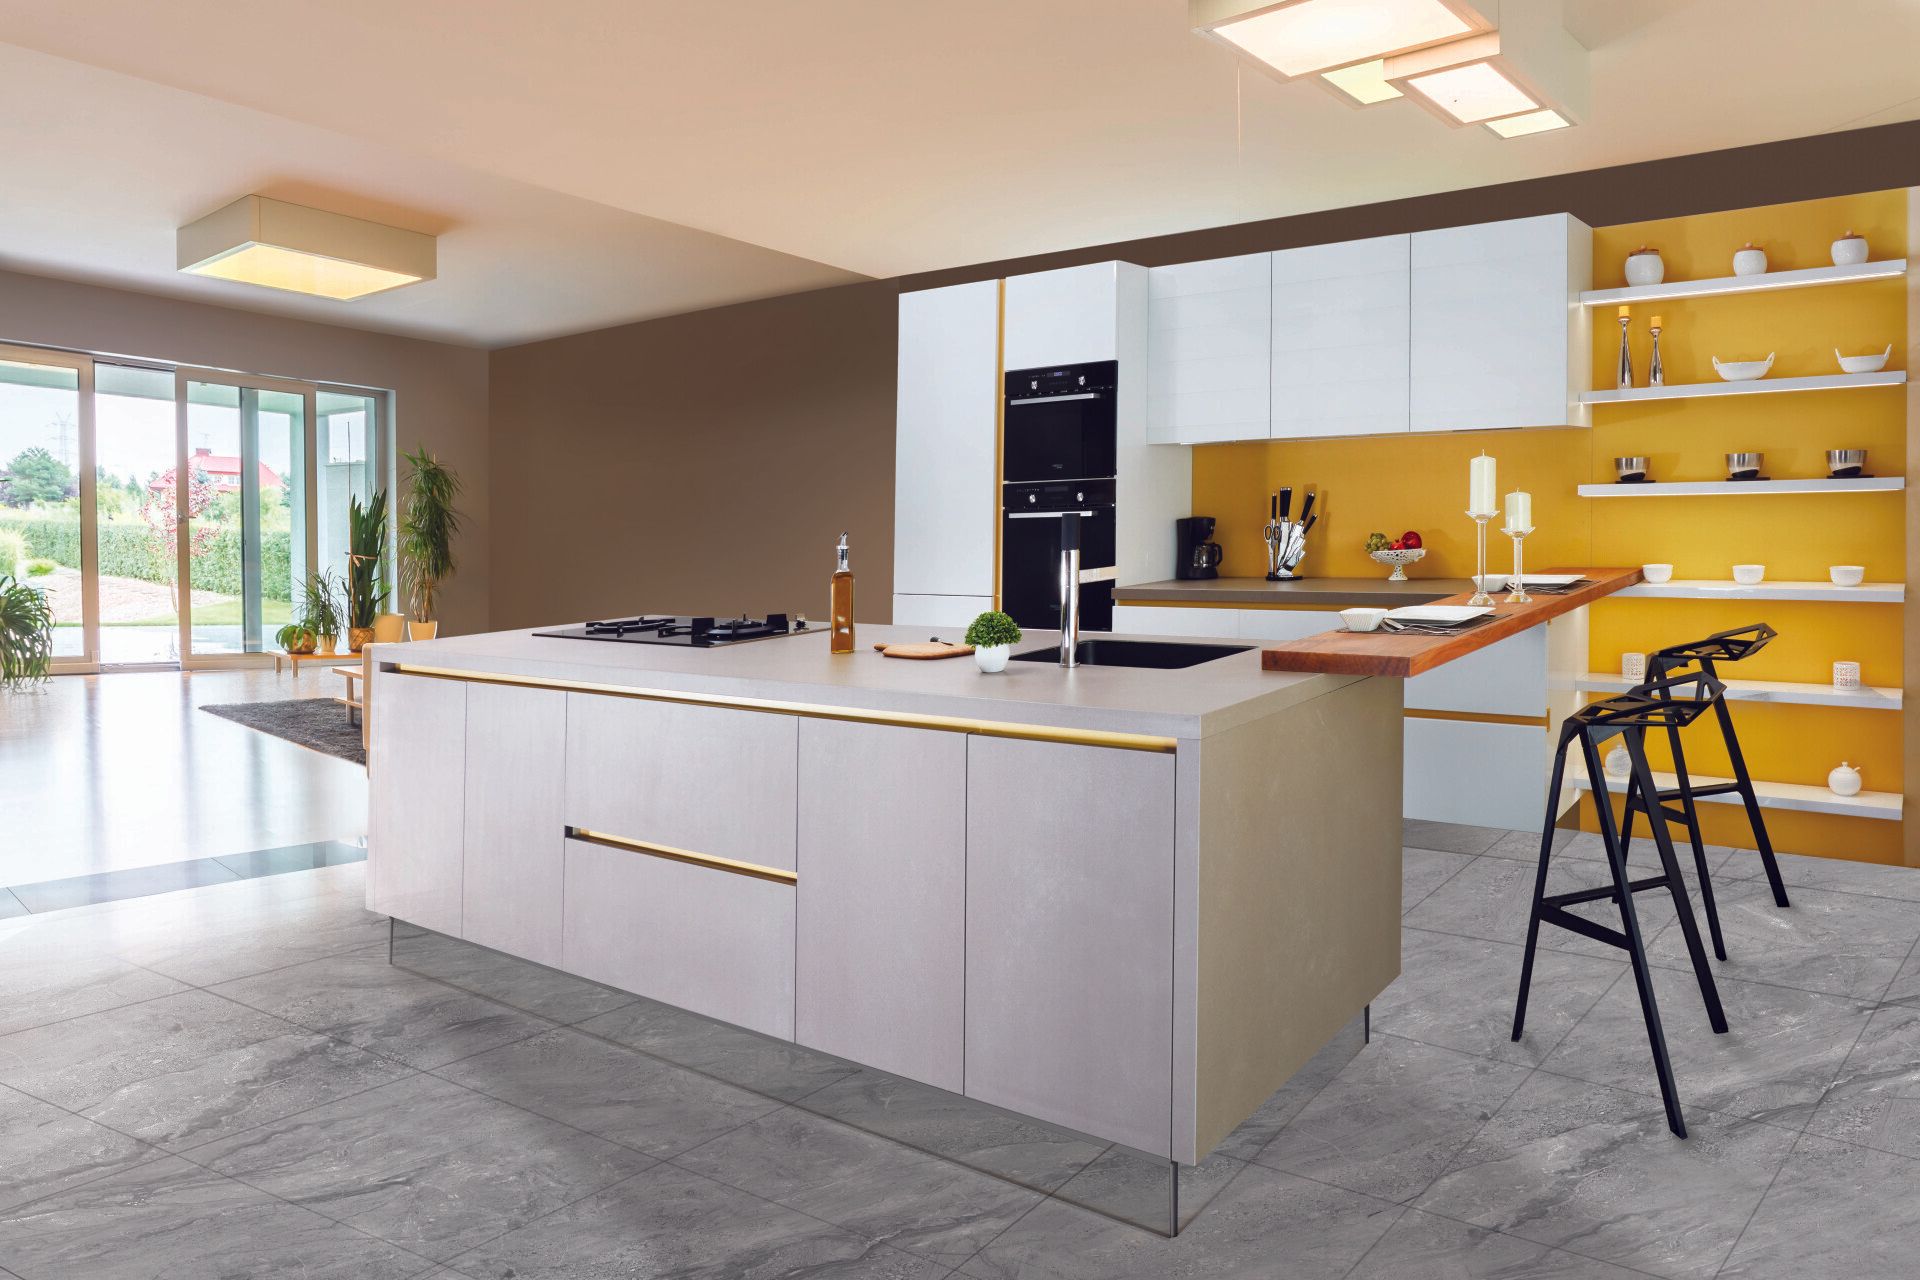
A backsplash can be the perfect finishing touch for your kitchen, adding style, personality, and protection against stains and spills. Installing a backsplash yourself is a fantastic way to elevate your kitchen without the need for professional help. Whether you’re tackling a full kitchen bath renovation or simply giving your kitchen a mini-makeover, adding a backsplash is a relatively straightforward project with a big impact.
In this article, we’ll explore DIY
Kitchen Backsplash Installation Tips, helping you navigate the process step by step. If you’re in the middle of a bathroom and kitchen remodel, this guide will also highlight how you can complement the design of both spaces for a cohesive look.
1. Plan Your Design and Gather Materials
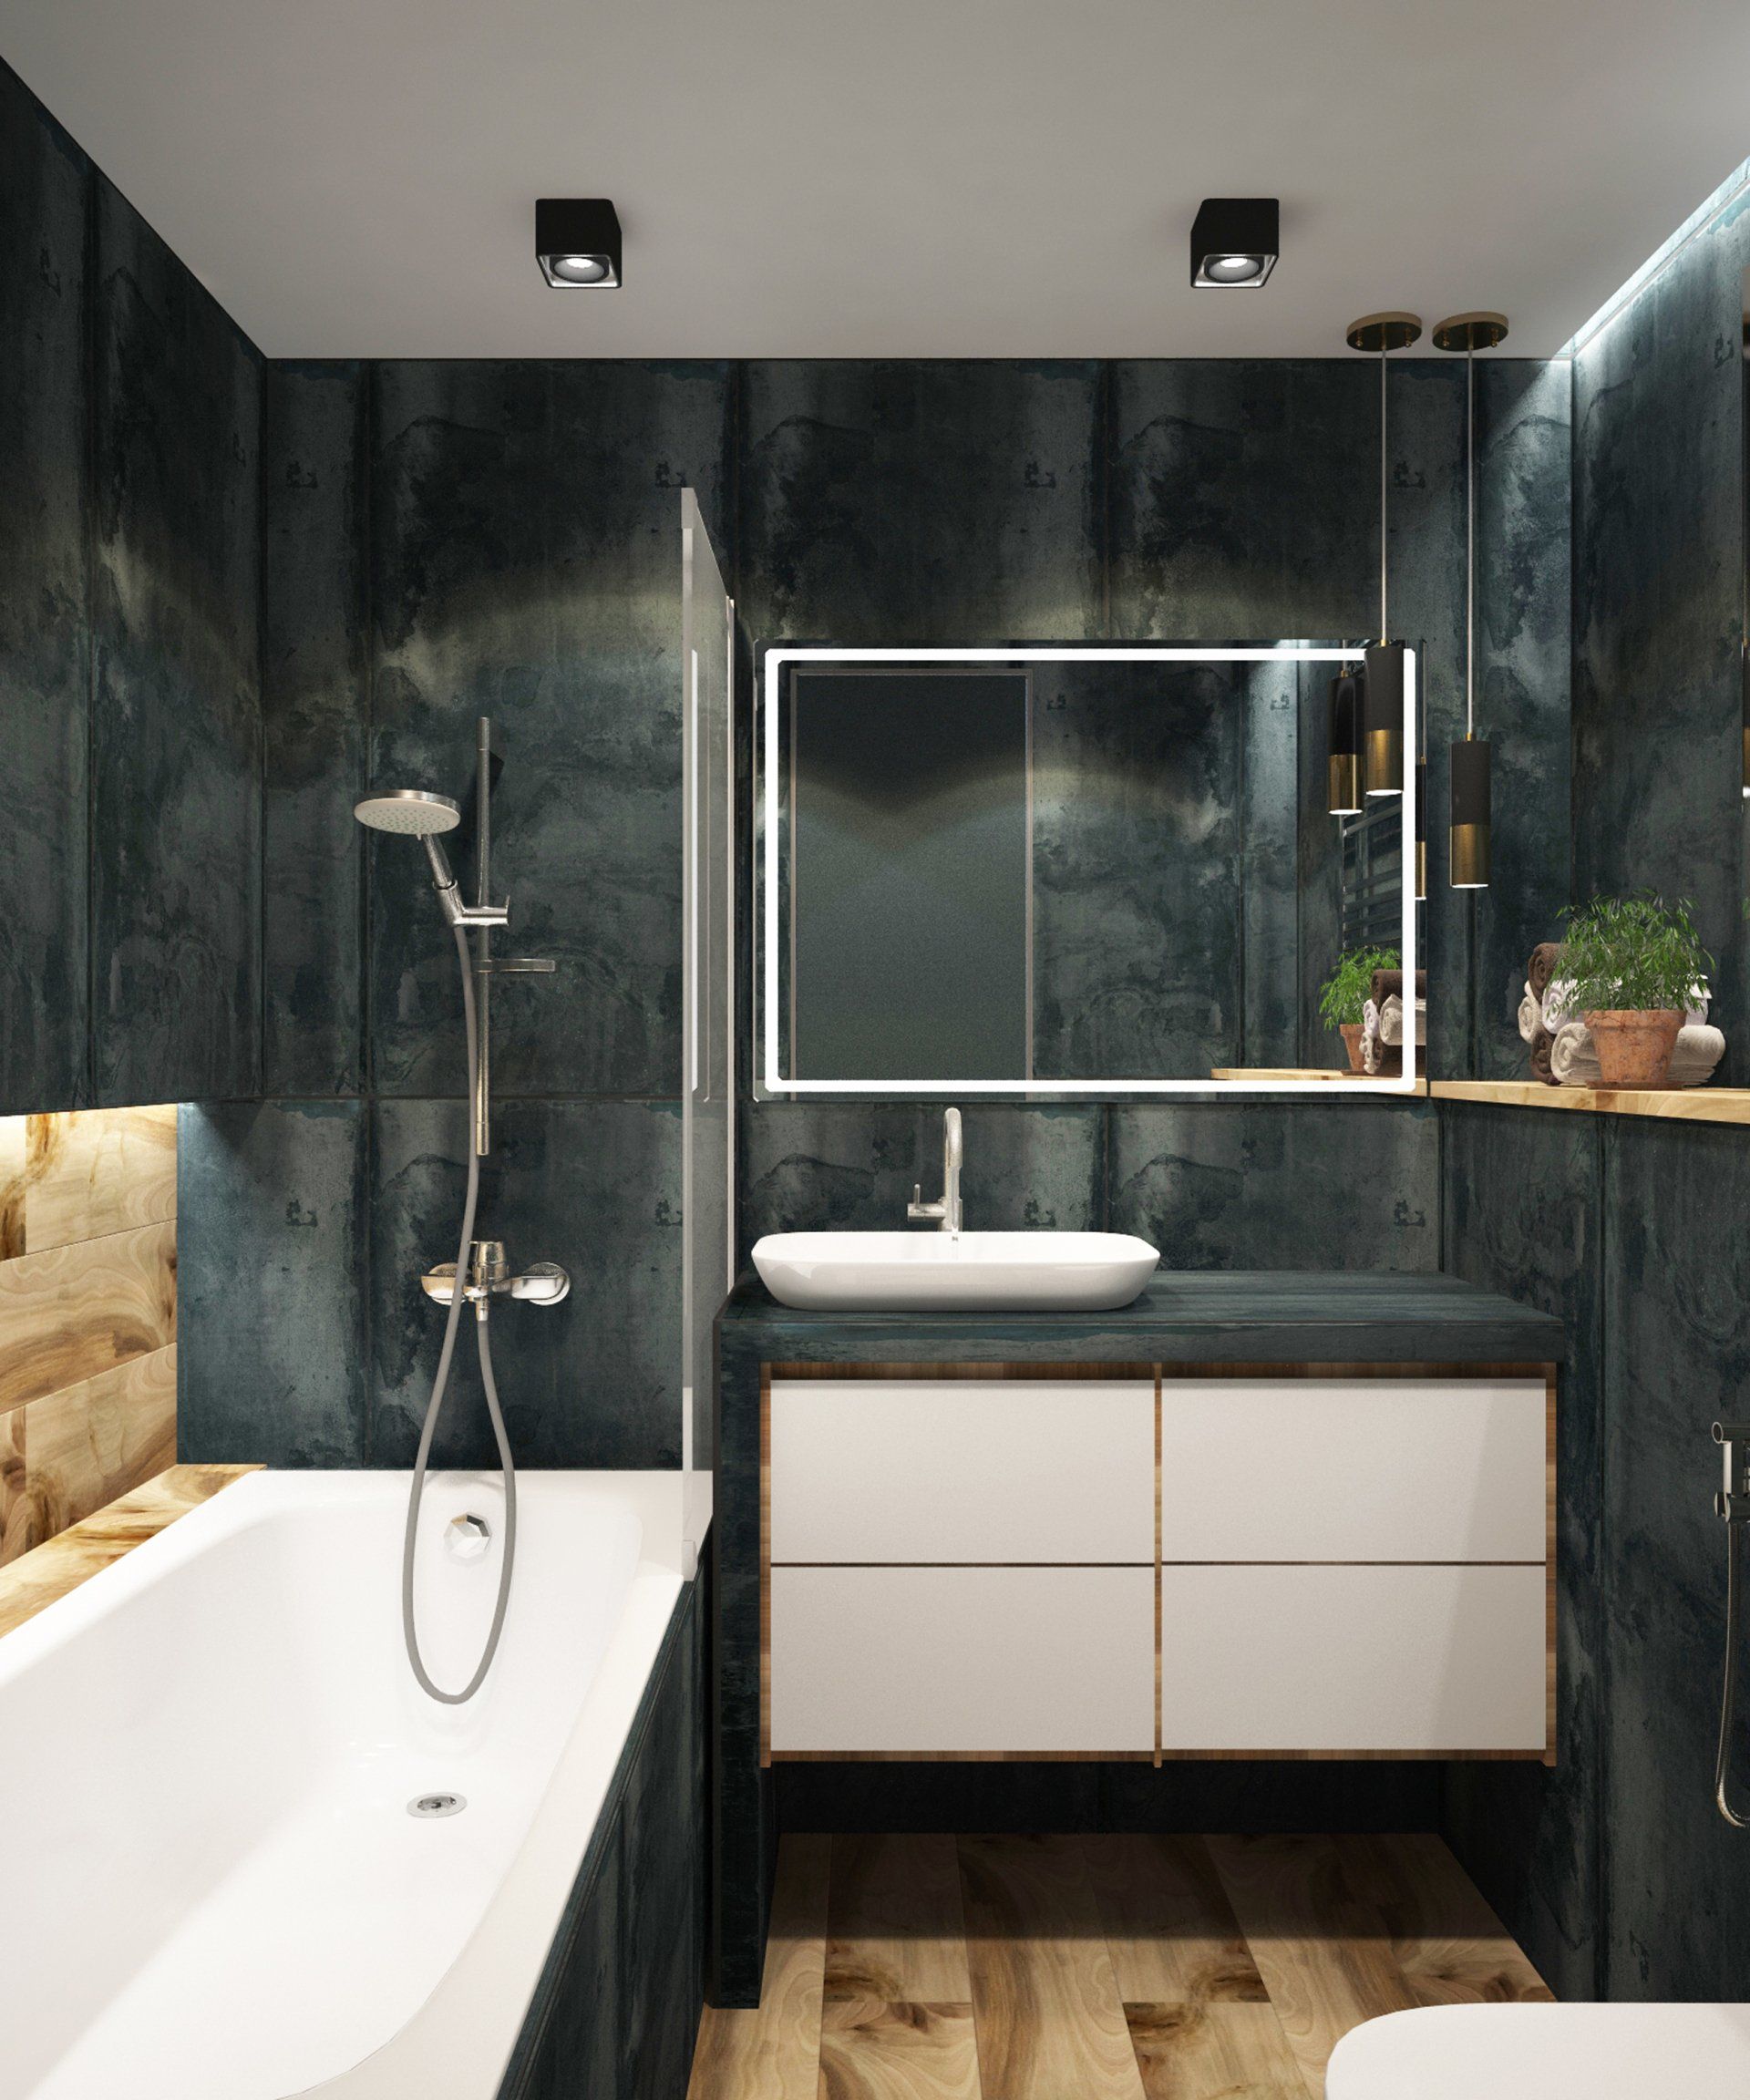
Before diving into your backsplash installation, planning the design and gathering the right materials is essential. The backsplash you choose should not only fit the aesthetic of your kitchen but also complement the rest of your bathroom and kitchen remodeling project if you're working on both areas.
Here’s what you’ll need:
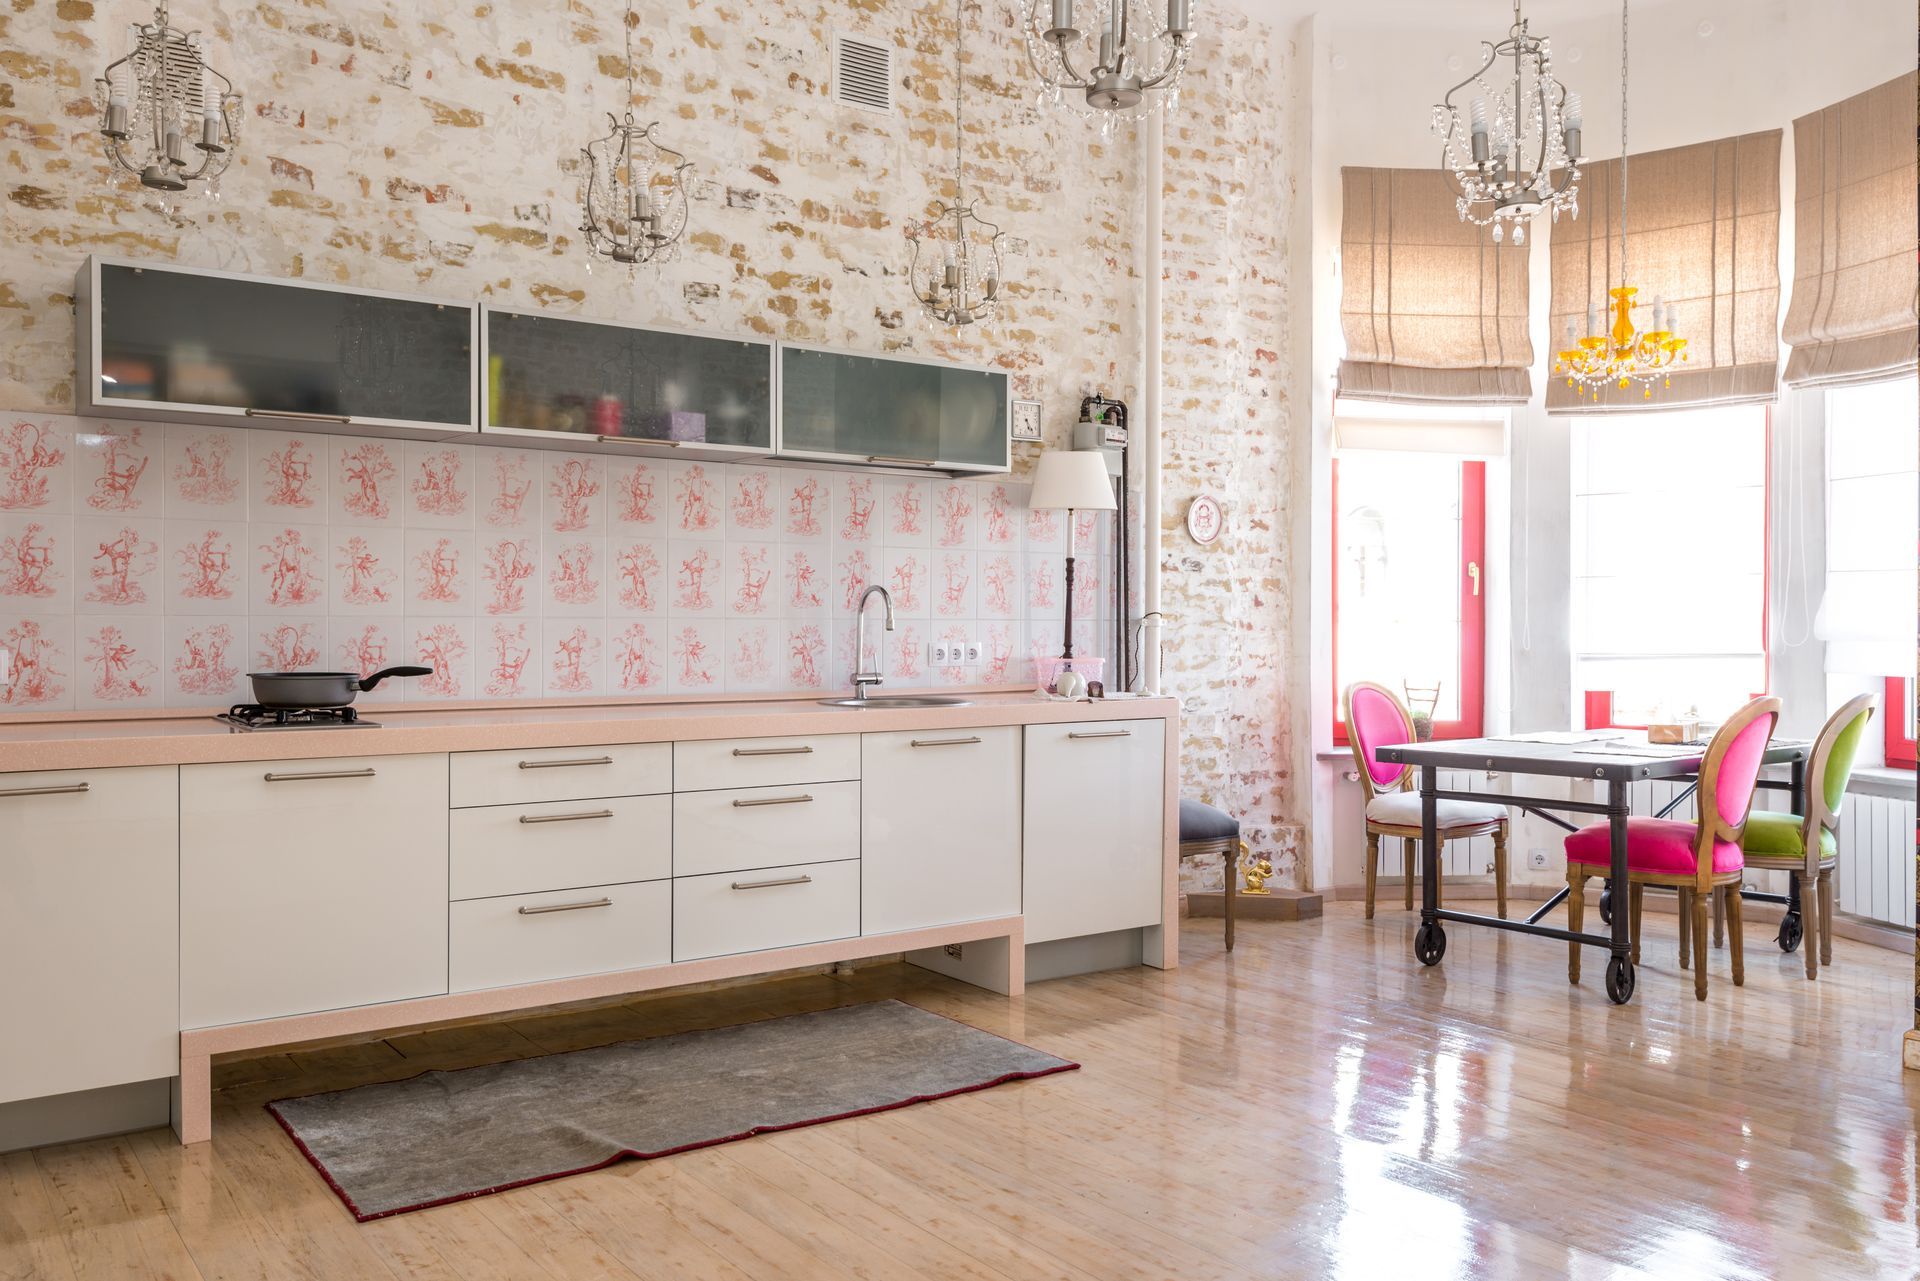
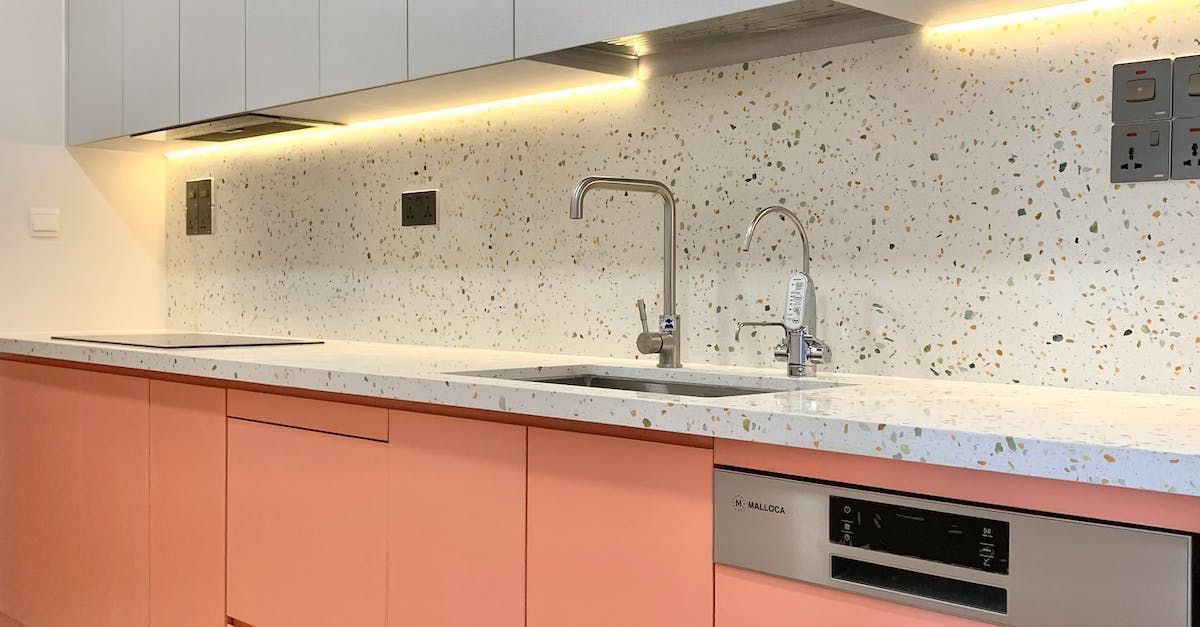
Tile: The star of your backsplash. Popular materials include ceramic, porcelain, glass, and natural stone. Consider visiting bath remodeling showrooms near me to see different styles and materials in person.
Adhesive or mortar: Choose the right adhesive based on your tile type.
Grout: This fills in the gaps between tiles, ensuring a polished finish. Pick a grout color that complements your tile.
Trowel: A notched trowel helps spread the adhesive evenly.
Tile spacers: These ensure uniform gaps between each tile.
Tile cutter: Essential for making precise cuts to fit tiles into corners and edges.
Level and tape measure: Accuracy is key, so make sure everything is level and measured correctly.
Sponge and bucket: For cleaning up excess grout.
Once you’ve gathered your materials, make sure the backsplash fits your overall design. For example, if you’re in the midst of a bath and kitchen remodeling project, consider using similar tile styles or materials in both spaces to tie the design together.
2. Prepare the Surface
The surface where you’ll be installing the backsplash needs to be smooth, clean, and dry. Any bumps, grease, or unevenness can affect how well the tiles adhere. Here's how to get the surface ready:
Clean the wall: Wipe down the area with a mild cleaner to remove any grease or dirt.
Sand any rough areas: If the surface is uneven, lightly sand the area until it's smooth.
Mark your layout: Using a level and tape measure, mark where the top and bottom edges of the backsplash will go. This will help you align your tiles perfectly.
If you’re working on both a bathroom remodeling Dallas TX project and your kitchen, follow similar prep steps to ensure both spaces are ready for tile installation.
3. Apply the Adhesive
Now it’s time to apply the adhesive to the wall. Here’s how:
Spread the adhesive: Using your notched trowel, spread the adhesive on a small section of the wall. Don’t cover the entire surface at once, as the adhesive can dry quickly. Work in sections to keep the process manageable.
Create ridges: Hold the trowel at a 45-degree angle and drag it across the adhesive to create even ridges. These ridges help the tiles stick securely to the wall.
Proper adhesive application is crucial, whether you're focusing on your kitchen or part of a larger kitchen bath renovation.
4. Place the Tiles
With the adhesive in place, it’s time to start adding the tiles:
Start in a corner or at the bottom: Begin by pressing your first tile into the adhesive, starting at a corner or bottom edge of your backsplash. This will help ensure that your tiles are straight and level as you work upwards.
Add tile spacers: Place tile spacers between each tile to ensure even spacing.
Check for alignment: As you go, use a level to ensure your tiles are straight. Adjust any tiles as needed while the adhesive is still wet.
If you're installing tiles in both your bathroom and kitchen during a bathroom and kitchen remodel, follow a similar process in each space to ensure consistent quality. Tile placement is one of the most satisfying steps in DIY Kitchen Backsplash Installation Tips, as the design really starts to take shape.
5. Cut the Tiles to Fit
As you near corners, edges, or areas around outlets, you’ll need to cut tiles to fit. Here’s how:
Measure the space: Use a tape measure to determine how much tile you'll need to cut to fit into a specific space.
Mark the tile: Mark the tile where it needs to be cut using a pencil.
Cut the tile: Use a tile cutter to carefully cut the tile along the marked line. For tricky areas, such as around outlets or faucets, a tile nipper may help you make smaller, more detailed cuts.
If you’re tackling both a kitchen and bathroom renovation, consider investing in a high-quality tile cutter, as it will serve you well for both projects.
6. Grout the Tiles
After all the tiles are in place and the adhesive has dried (typically 24 hours), it’s time to grout the tiles:
Mix the grout: Follow the instructions on your grout package to mix it properly.
Apply the grout: Use a grout float to spread the grout over the tiles, pressing it into the spaces between them. Work in small sections, just as you did with the adhesive.
Wipe away excess grout: Once the grout is in place, use a damp sponge to wipe away the excess from the surface of the tiles. Be sure to rinse the sponge frequently to keep it clean.
This step is essential for giving your backsplash a professional finish. Whether you're working on your kitchen or bathroom, grouting is a vital part of any bath and kitchen remodeling project.
7. Seal and Finish
Finally, once the grout has dried (after 24 to 48 hours), it’s time to seal the grout. This will help protect it from stains and moisture, especially in areas like the kitchen where food spills and splashes are common.
Apply grout sealer: Using a small brush or roller, apply the grout sealer over the grout lines. Let it dry according to the manufacturer’s instructions.
Finish the edges: Add any finishing trim or caulk along the edges of the backsplash to create a clean, polished look.
At this point, you’ve successfully completed your DIY backsplash project! Whether you’ve tackled just your kitchen or both your kitchen and bathroom as part of a bathroom and kitchen remodel, you’ve added both style and functionality to your space.
Conclusion
Installing a kitchen backsplash yourself is a rewarding project that adds both beauty and practicality to your home. With the right tools, materials, and a clear step-by-step plan, you can achieve a professional-looking result without the need for a contractor. Whether you’re focused on a kitchen bath renovation or incorporating elements into a broader bathroom and kitchen remodeling project, a backsplash is the perfect way to elevate the look of your space.
If you're ever in need of more inspiration or want to see different tile options in person, don’t hesitate to visit bath remodeling showrooms near me. And if you're located in Texas, checking out
bathroom remodeling Dallas TX professionals can give you further insights into achieving the perfect backsplash for your home.
Ready to work with DFW Bath & Kitchen Solution?
Let's connect! We’re here to help.
Send us a message and we’ll be in touch.
Or give us a call today at 817-697-0335
Agency Contact Form
More Marketing Tips, Tricks & Tools
DFW Bathroom & Kitchen Solution Blog